Step 20
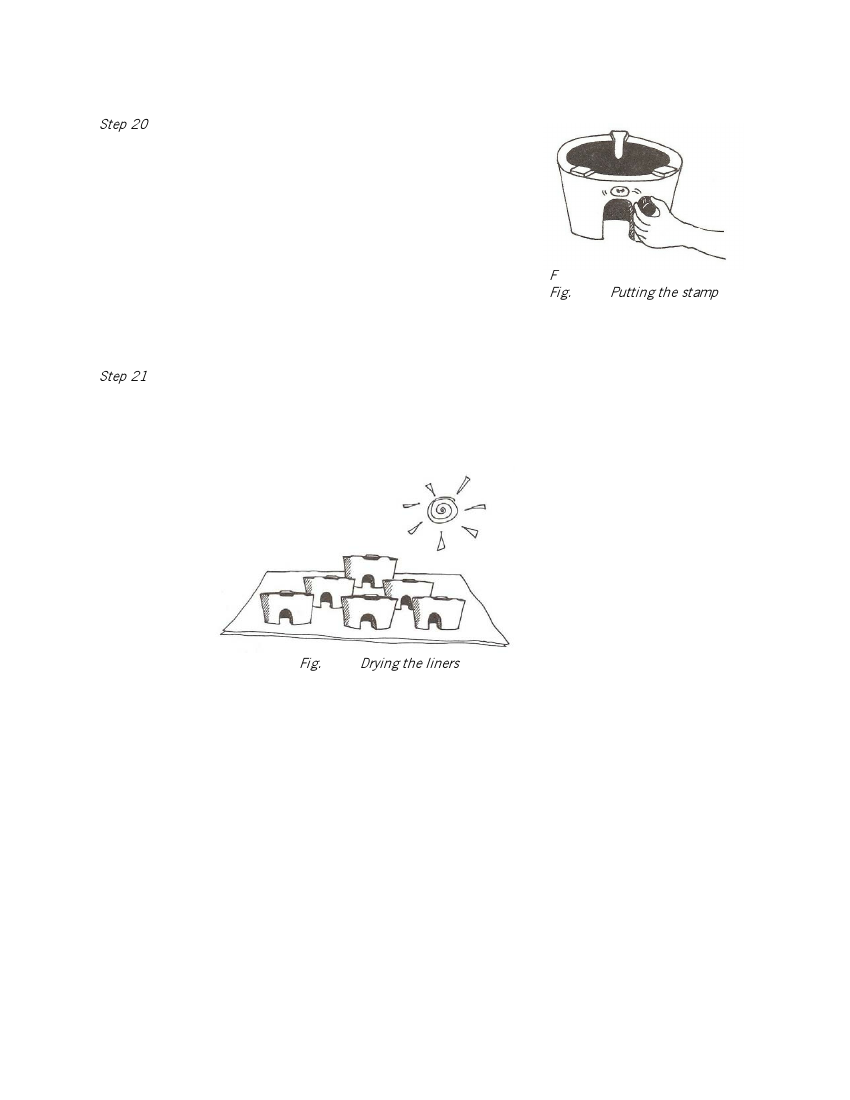
Smooth the stove, using a little water and a plastic spatula. Complete
the stove by decorating or putting an identifying stamp on it. This
stamp should identify where the liner was made. It can be carved in
wood or rubber like an office stamp.
F
Fig. 4.25 Putting the stamp
The stove has to be attractive and functional. If you want to sell it, someone ~ has to like its appearance to
want to buy it.
Step 21
Dry the stove liners for two to three weeks. If the climate is hot and dry, cover the liners in polythene or
sacking for the first week to prevent them from drying too fast and cracking. If the climate is damp, the
liners can be left to dry without being covered. When the liners look and feel completely dry, they should be
put in the sun on a dry surface, for two to three days.
Fig. 4.26 Drying the liners
Notes on drying stove liners
Stove liners have much thicker walls than most traditional pots. This means that they will take longer to
dry. It is important to dry the liners as slowly and evenly as possible.
DO NOT
DO
put wet liners in direct sunlight to dry
put wet liners in a draughty or windy place to dry
put wet liners directly on a cement floor
put wet liners in a hot tin-roofed shed without covering them.
put wet liners in a cool humid place for the first few days of drying
put cardboard, sacking, cloth, dried grass or leaves under the liners, especially if they are
to stand on a cement floor
cover wet liners for the first few days of drying with sacking, cloth, cardboard or even
banana leaves. If you use polythene, make small holes in it to allow some moisture to
escape.